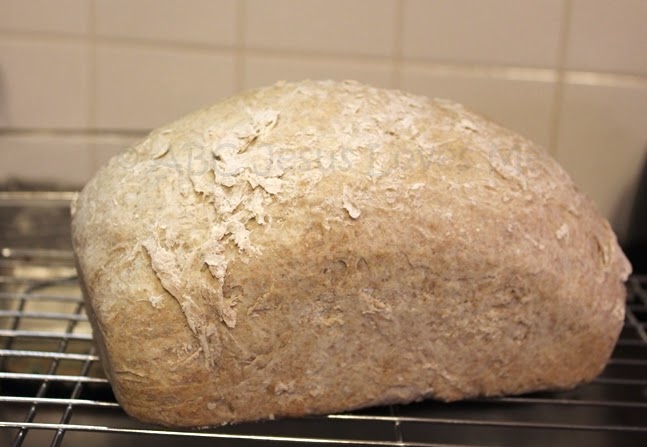
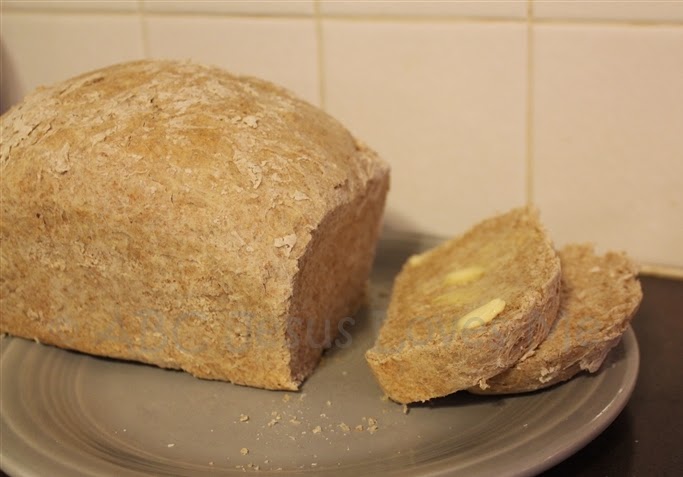
Making Homemade bread can be very intimidating. When some of you saw the activity in the Easter Activity Workbook to make homemade bread, you freaked! Some of you shy away from anything with yeast for fear of failure. But yeast is not your enemy! In baking, yeast is your friend. And baking homemade bread is nothing to be scared of.
Beyond the healthy reasons and cost savings, making homemade bread has so many education points. A child can learn about baking, science, and experience some wonderful illustrations for learning that I would hate for your kiddos to miss out. Plus it’s so yummy!
In the Easter Activity Workbook, I encourage you to make homemade bread as a remembrance for the Lord’s Supper. But don’t worry. I have found a recipe to make it so easy.
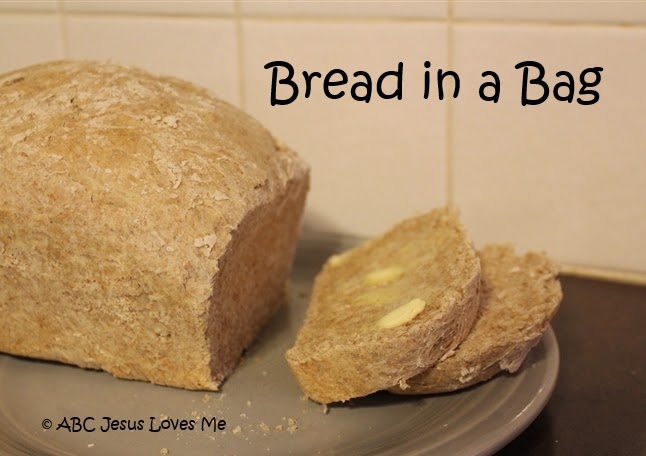
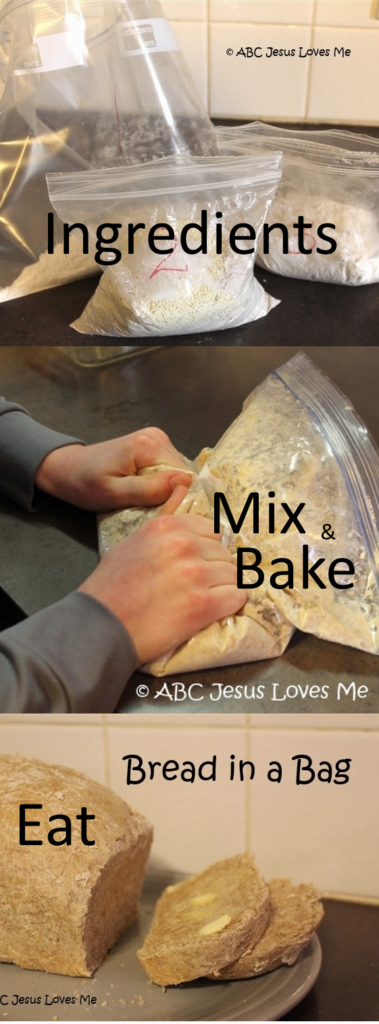
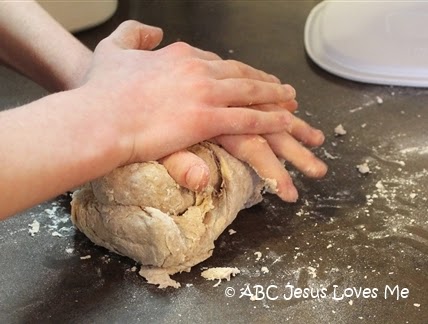
So easy that a two-year-old can have a huge part in the process. So easy that with just a little help a ten-year-old can do the entire process. Yes, all the pictures in this post are our son’s work. Bubs made the bread pictured above and those are his fingers in the images below. And when he had his first bite he said, “This really is good!”
Below you will see the directions with images for each step. You can do this and I hope that you will post pictures on Facebook for all of us to see!
Ingredients:
2 3/4 cups white flour (divided)
1 2/3 cups whole wheat flour
1 package dry yeast (2 1/4 teaspoons)
2 teaspoons sugar (divided)
1/4 cup dry milk
1 1/2 teaspoon salt
1 1/4 cup warm water (divided)
1 Tablespoon oil
Directions:
Can I say just one more time, you won’t believe how easy this is?
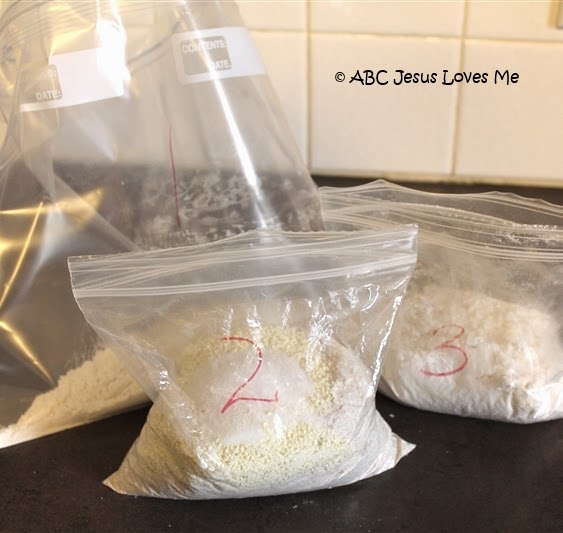
1. Prepare three bags with the following ingredients:
• Bag 1 (gallon-sized bag) – ½ cup white flour
1 package dry yeast (2 ¼ teaspoons)
1 teaspoon sugar
• Bag 2 (pint-sized bag) – 1 2/3 cups whole wheat flour
¼ cup dry milk
1 ½ teaspoon salt
1 teaspoon sugar
• Bag 3 (pint-sized bag) – 1 ¼ cup white flour
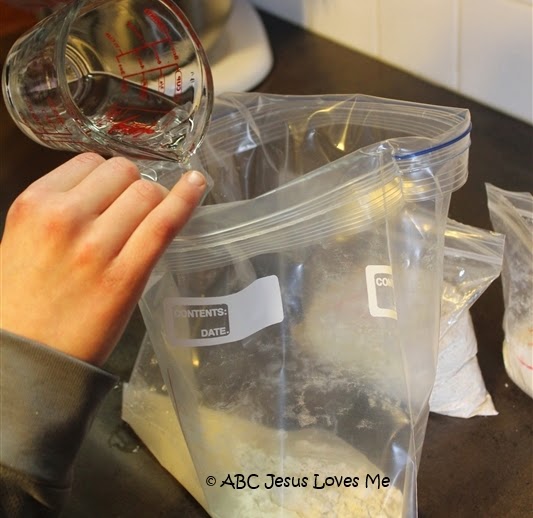
2. To BAG 1 – Add ½ cup warm water.
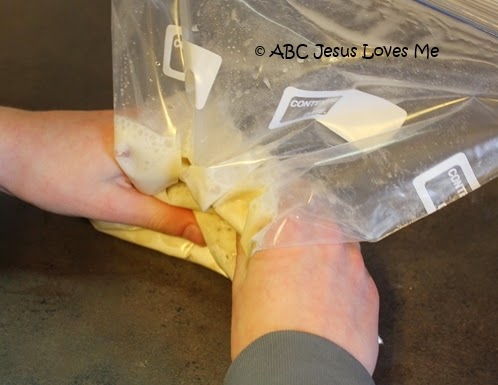
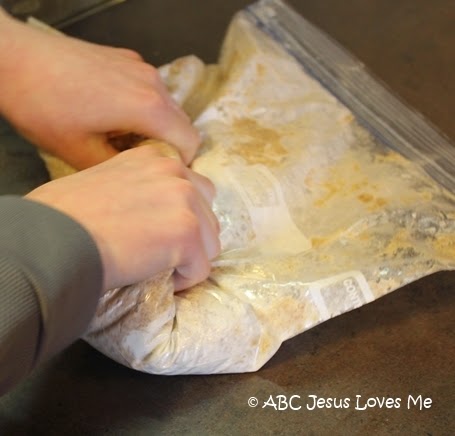
3. “Mix” with your hands on the outside of the bag until the mixture is
well combined.
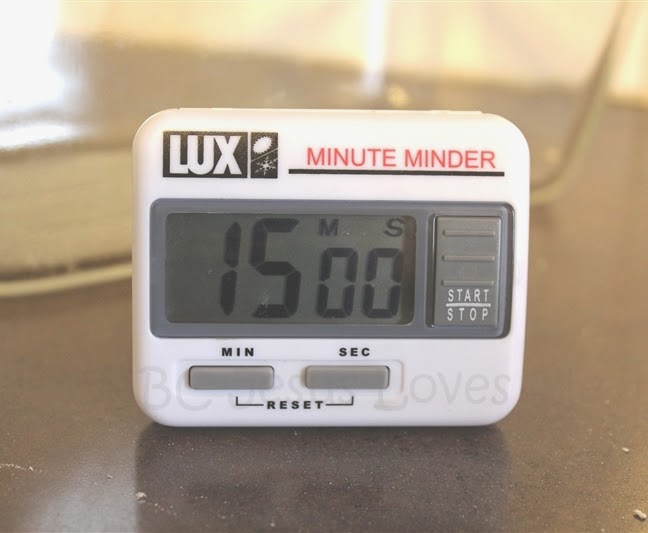
4. Set a timer for 15 minutes.
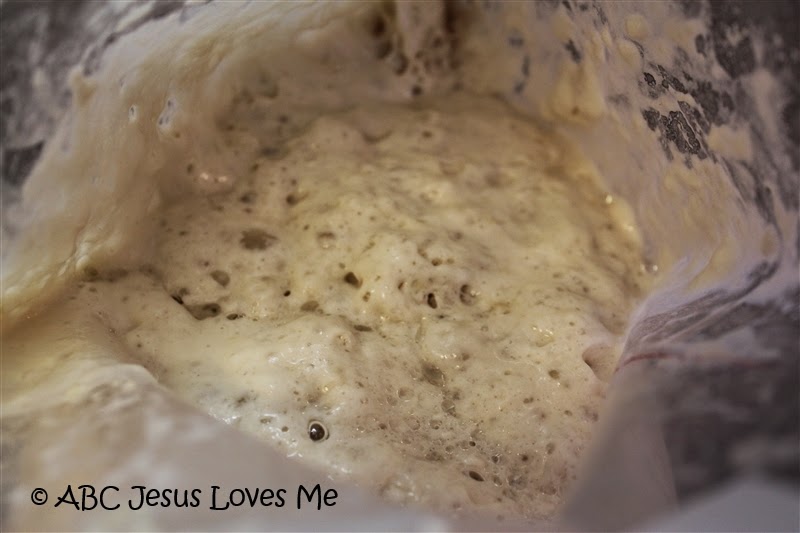
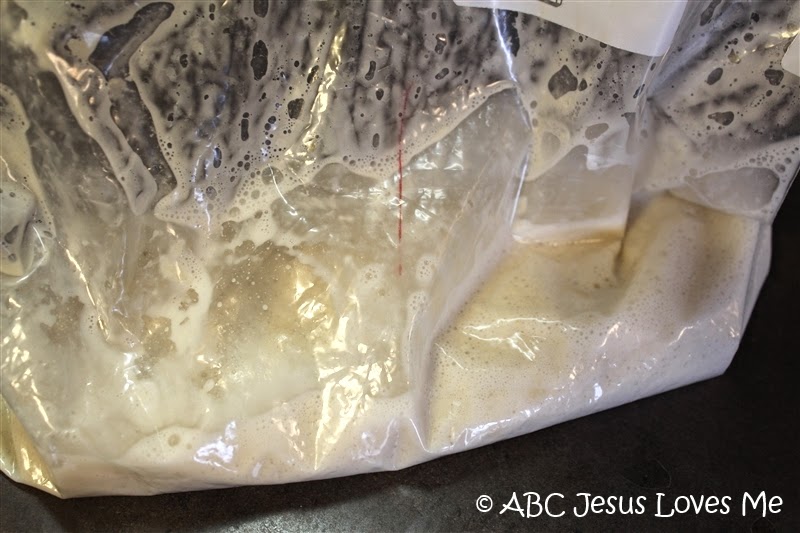
During this break, the yeast will come alive as it reacts with the water and sugar to turn the mixture into a foamy, wet, brown mess.
5. After the 15 minute rest, add the following to Bag 1 – ¾ cup warm water and 1 Tablespoon oil.
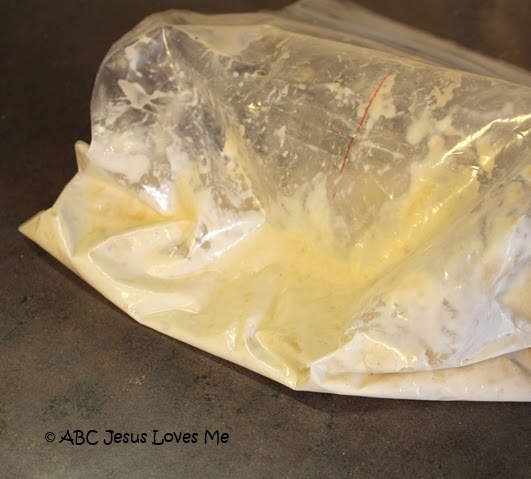
6. Mix again on the outside of the bag. Now the mixture is very runny.
7. Add BAG 2 to BAG 1.
8. And mix again…
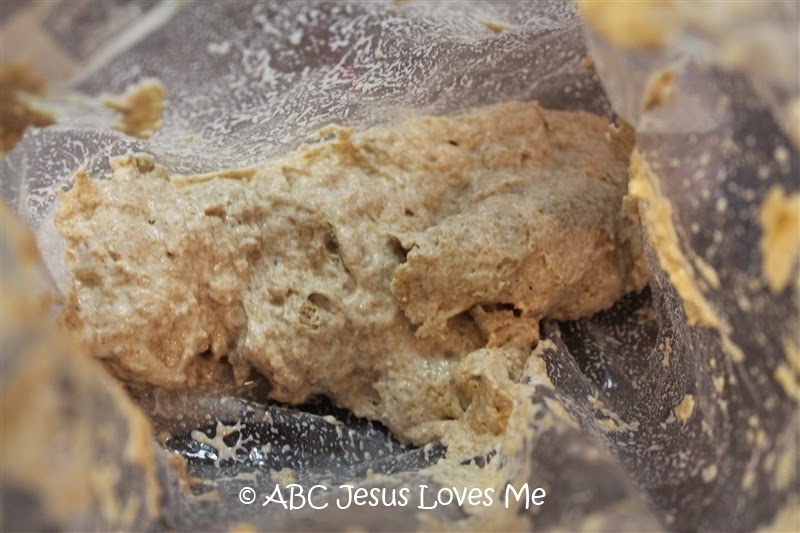
The mixture is becoming thicker.
9. Add BAG 3 to BAG 1.
10. Mix until the flour is no longer visible.
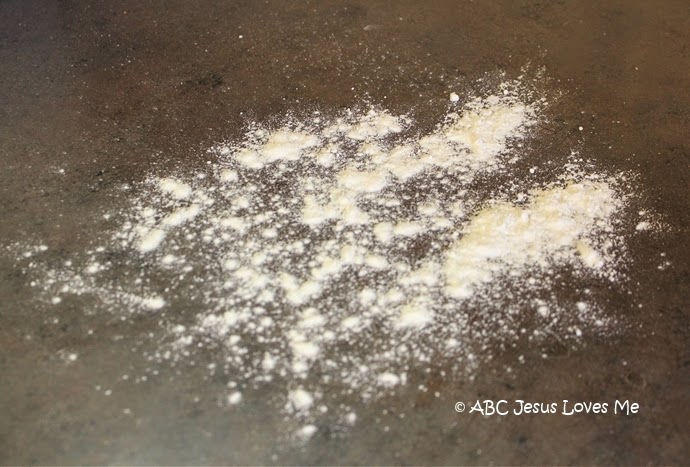
11. Remove the dough from the bag and place on a clean surface. (If the dough is too sticky add a little flour. More flour will result in heavier bread but less mess.)
12. Knead for several minutes. Unsure how to knead bread? Watch this video.
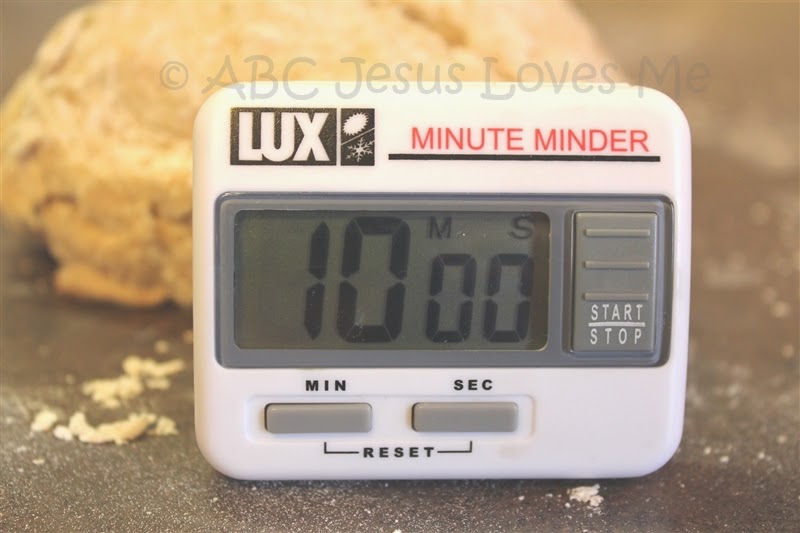
13. Rest the dough for 10 minutes.
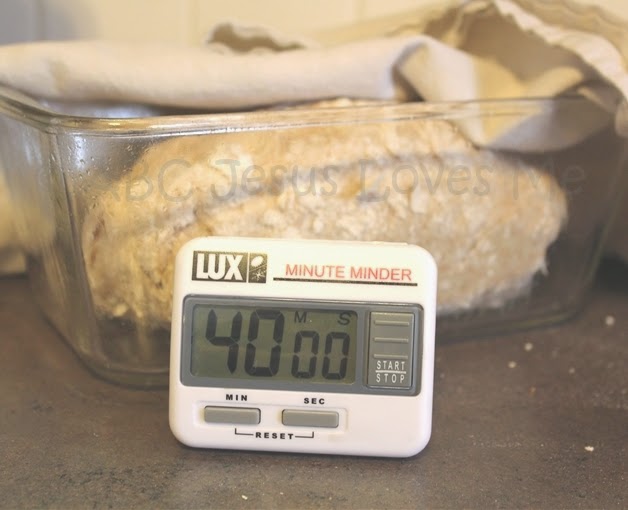
14. Flatten the dough and form into a rectangle. Place into a greased pan. Cover with a cloth and let rise for 35-45 minutes until double in size.
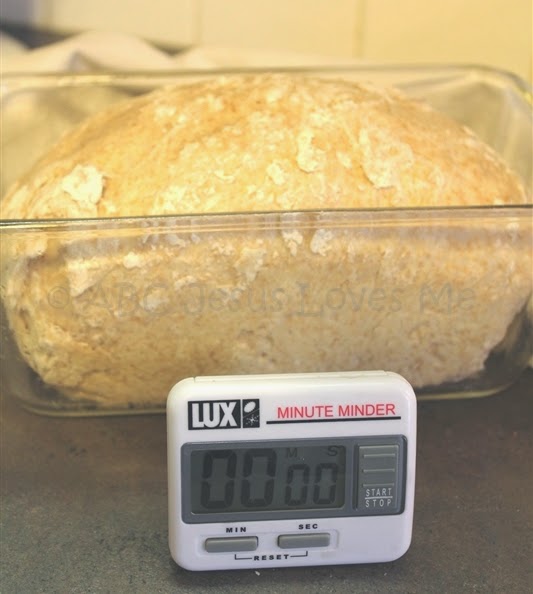
See the size difference? The dough is now above the top of the baking pan.
15. Bake at 350 degrees for 30 minutes. Bread is done when it sounds hollow when thumped lightly with your finger. Turn out to cool.
And there you have it. Delicious, beautiful bread.
Besides the Lord’s Supper, other uses for this recipe:
- God Provides Food to the Israelites
- Character Education: Patience and Kindness
- Book Activity for The Little Red Hen
- Feeding the 5000
Full recipe available in the Easter Activity Workbook. The original recipe was created by KFB Women’s Committee for Ag in the Classroom.
