
Before ABCJLM was even a thought in my mind, I created File Folder Games for Bubs. If you are not familiar with these, File Folder Games are inexpensive, easy to store activities that are great for teaching fundamental concepts to kiddos. The other day I pulled out some for Peanut and he really enjoyed them.
I presented the idea on Facebook to the ABCJLM family and the input was a resounding “Yes!” There was a huge desire for me to create File Folder Games for the ABCJLM website. So far I have added four free color and black and white printables and I will be added more and more games as time allows. Click to check out our free File Folder Games.
Today, I want to share with you how to put the games together on a file folder and how to laminate with contact paper for longevity if you choose.
Supplies
- Printable from ABC Jesus Loves Me Preschool Curriculum
- Scissors and/or Paper Trimmer
- Laminator or Con-Tact Paper
- File Folder
- Crayons, markers, or colored pencils or a Colored Printer
- Rubber Cement
- 6×9″ Clasp Envelopes


Instructions
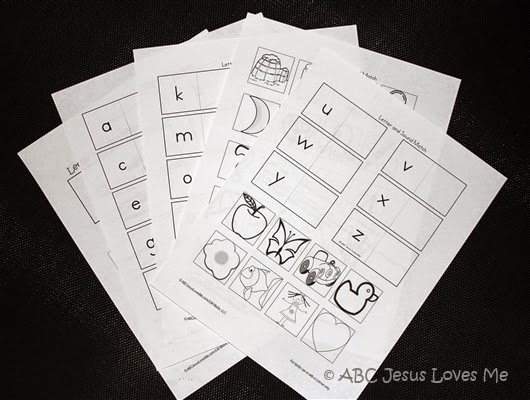
1. Print the File Folder Game from ABC Jesus Loves Me. Each printable is available in color or black and white. If you are not going to laminate the game pieces, I encourage you to print them on cardstock.
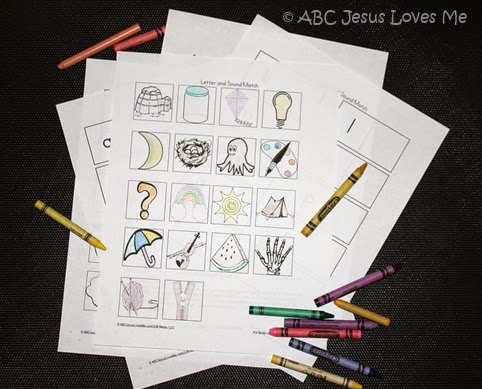
2. If you choose to print in black and white, the images are created to be able to be colored with crayons, markers, or colored pencils.
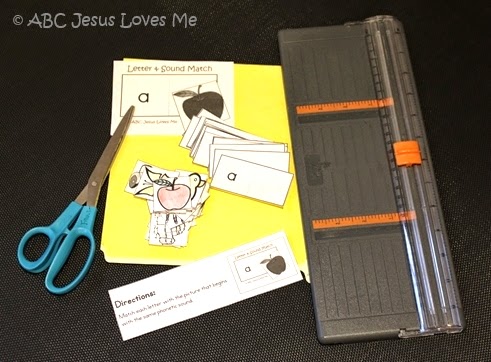
3. Cut out all pieces using scissors and/or a Paper Trimmer

4. Some file folders have company logos printed on them. Be sure to turn the file folder in a way that the logo won’t interfere with the game. You don’t want the logo on the inside if the game pieces are small. Lay out the pieces and glue down with Rubber Cement. Think about the child reading from left to right and from one page to another when organizing the pieces. Rubber Cement is perfect for this task because you can peal up non-dried pieces that need to be moved without them tearing. (Mistakes happen!)

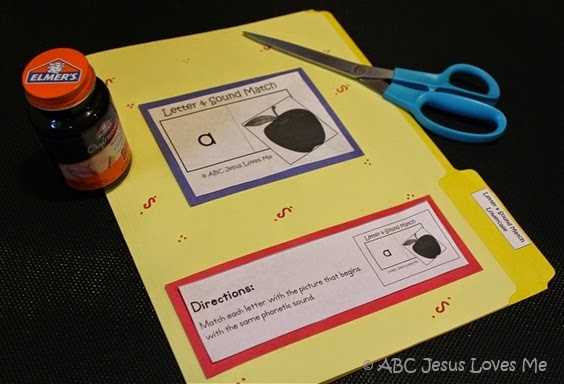
6. Glue the title image and directions box to the front of the file. Glue the title label on the tab.
If you do not want to laminate your folder, you are finished. Great job! Use during quiet time, guided learning, traveling or whenever quiet activities are needed.
Laminating a File Folder Game with Contact Paper
If you desire the folder to last through several children or survive use of a toddler, I suggest that you laminate it. There are two choices to laminate the folder.
1) Use a laminator. This is by far the easiest route, especially if you have a school supply store nearby or your library allows you to use a laminator. But this can be pretty expensive. There are also small laminators to purchase from Amazon. Many in the ABC Jesus Loves Me Facebook Group use the Scotts Laminator. I have not used it personally so can not attest to its abilities. Just be careful that your laminator is able to handle the size of a file folder.
2) Good ole Con-Tact Paper
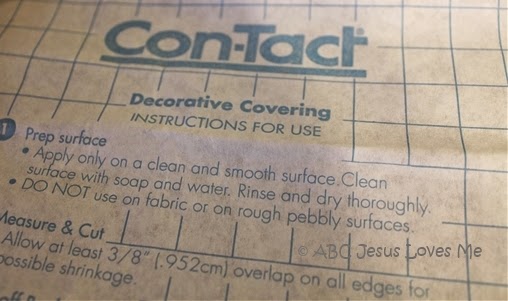
When you purchase contact paper, I encourage you to purchase one that has the guide lines on the paper as it makes it much easier to laminate a project with straight-edged contact paper. It can be found online or in most Target or Walmarts in the Kitchen section with shelf liners. I suggest purchasing the wider rolls as it leaves more room for error. The contact paper has two layers: a clear, plastic side and the paper side which has directions and (hopefully) guide lines. The paper will be thrown away when finished.
1. I’ve found a large kitchen counter or table to be the best place to laminate a project. Make sure the surface is super clean and completely dry.
2. Begin by unrolling the contact paper on the file folder. Cut the contact paper giving yourself plenty of extra on all sides. (Do not take the paper off the contact paper yet. This is simply to make the piece more manageable.)
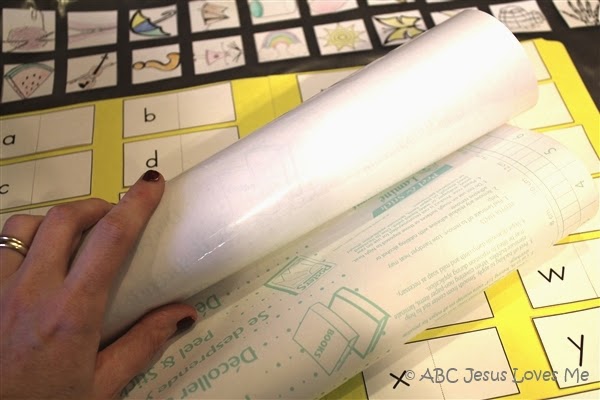
3. Next roll the contact paper the opposite direction so the clear plastic is on the outside and the paper directions are on the inside. This will make the next steps easier.

4. Oh…and bee sure to open and unclasp the envelope before laying contact paper on top. I will explain why later.
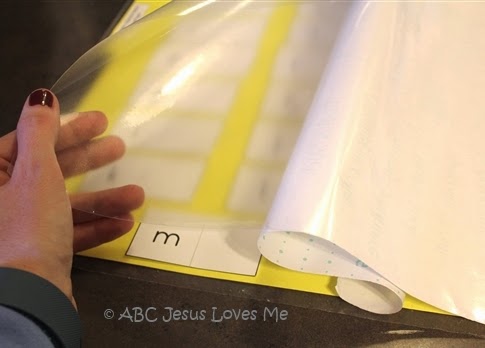

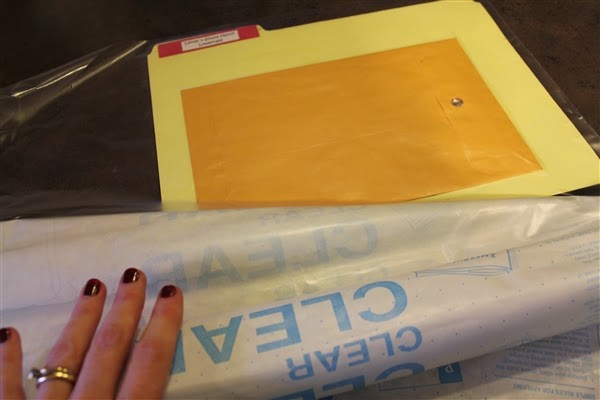
7. With your dominate hand, slowly pull the paper from the bottom away from the clear lining. The non-dominate hand will be on top to guide the contact paper and smooth out all bubbles and creases. The paper will then come off and can be trashed.

8. Turn over the lined project with the sticky side up.
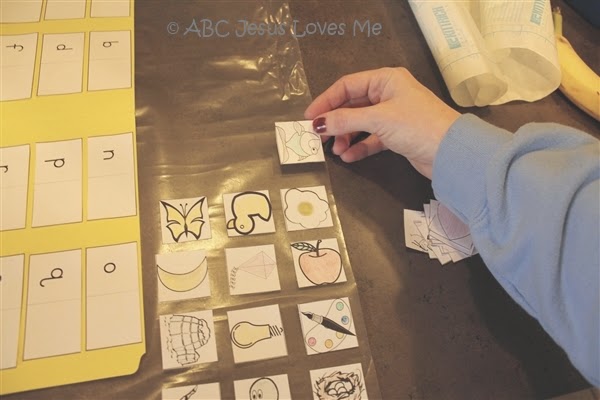
9. Because I had extra wide contact paper, I was able to lay the game pieces on the side. Be sure to leave plenty of room between each to cut out the pieces. You will leave a border of contact paper around everything you cut.

One side done!
10. Do the exact same steps to cover the second side. Measure, roll the opposite direction, align, and slowly guide. The trick to the second side is getting the top lining straight. Sounds easy but many times I have gotten half way through adding the second layer and realized I was off a 1/4″ on the sides. Bummer! It comes in very handy to have that extra cushion of contact paper on the sides for this reason. Also, because you are attaching a sticky surface to a sticky surface there is more room for error so work small amounts at a time and go slowly. (i.e. Don’t try to do this with supper on the stove and children pulling at your legs.)
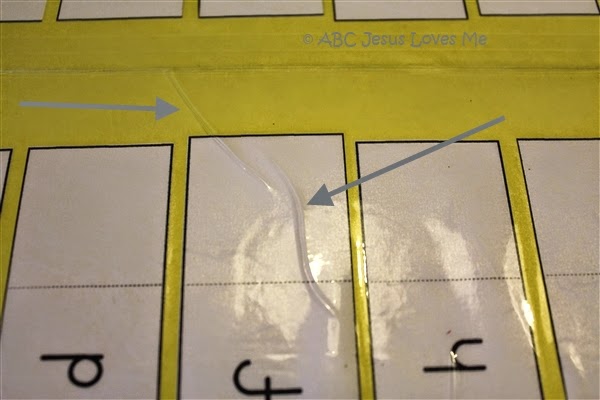
11. There are times when despite my best efforts, creases happen (above image). In my early-mommy days, I would have been disgusted and started over. Four kids later and I realize it is very minor. Perfectionism isn’t worth a mommy being mad at the world and ignoring her children simply to be crafty.
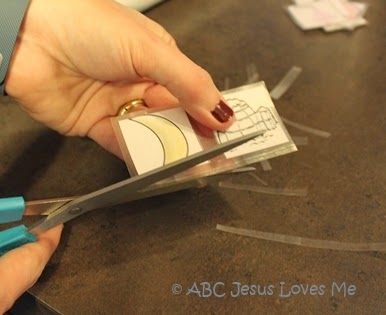

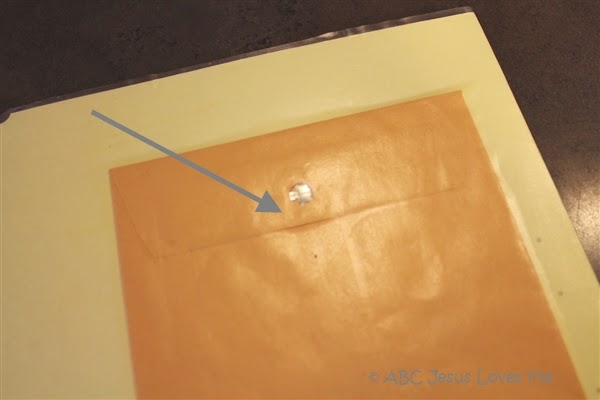

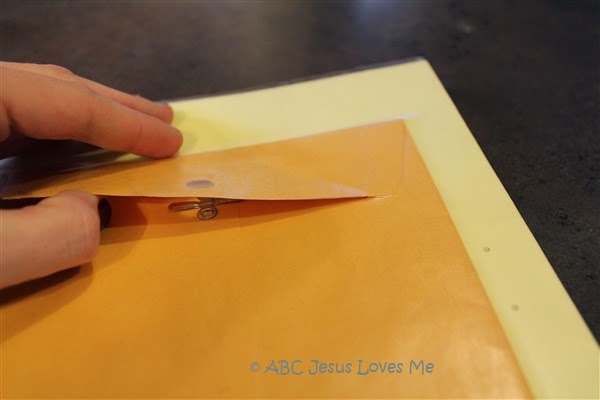
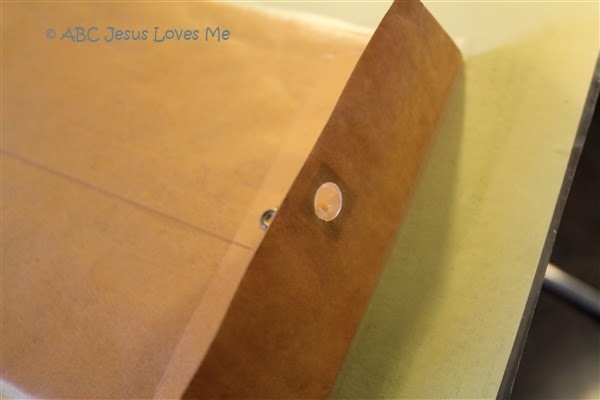
15. Gently open the envelop. Because we laid the clasp under the envelope closing, it is simple to open the envelope. Gently cut the contact paper covering the hole of the closing. This will allow you to use the envelop with the clasp.
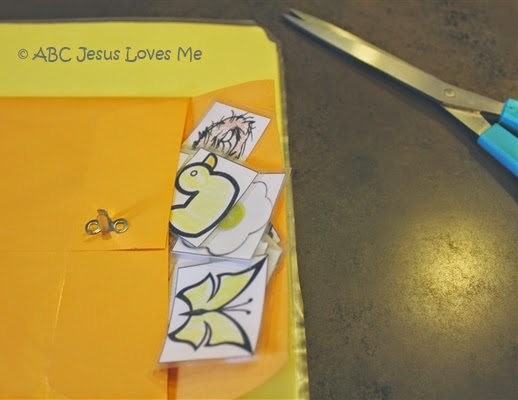
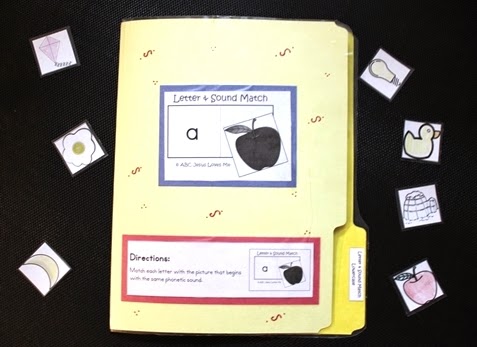

It’s ready for years of use during guided learning time, as a quiet activity, during play, or while traveling.
Check out these and all of the free ABCJLM File Folder Games!

This post contains affiliate links.




wonderful! Thank you for the tutorial on contact paper. I am inspired now to "get her done!!" 😉
Girl, I see those painted nails! Excited to try these with Eli- I totally think he'll be into it. Thanks for sharing. My inner-teacher is excited. 🙂
Cindy…every once in a while I get in a crazy mood and pull out the paint. 🙂