With Taming the Laundry Giant and Yummy, Delicious Granola Bar Recipe posts last week, I am on a homey kick right now! Think it is the perfect time to share my sewing post as well.
Having three active boys, I see jeans deteriorate right before my eyes. It seems in one split second jeans move from the “good” to “play” category on the shelf. But, our budget doesn’t allow me to purchase new jeans every time a pair springs a hole. And personally I am not a fan of gigantic patches. There must be a better solution!
To the sewing section I headed.
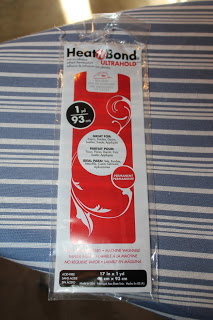
For starters, I grabbed some Heat’n Bond Ultra Hold Iron-On Adhesive. Very happy with the results, I created an entire blog post. Wondering why you never saw this? Well, I never posted it. After just a couple of washes, the adhesive lost its adhesiveness. It was a mess! All that time and work to have it fall off in the dryer. Frustration.
Solution #2. I did some searches on Pinterest. While I found some cute ideas for Sweet Pea, I failed to find anything I liked for the boys.
Solution #3. Trial and error. After several mistakes, I found what has worked the best for me. And I think it is a pretty good solution!
Disclaimer – Due to time restraints on this momma of four, these directions will require some sewing experience as I will not go into basic steps like how to thread a sewing machine.
Supplies:
Sewing Machine – I have a Singer Simple machine from Walmart. Has worked great for me.
Thread – I use white but any color could be used.
A sacrificial pair of scrap jeans to cut pieces from
Scissors
Seam Ripper
Directions:
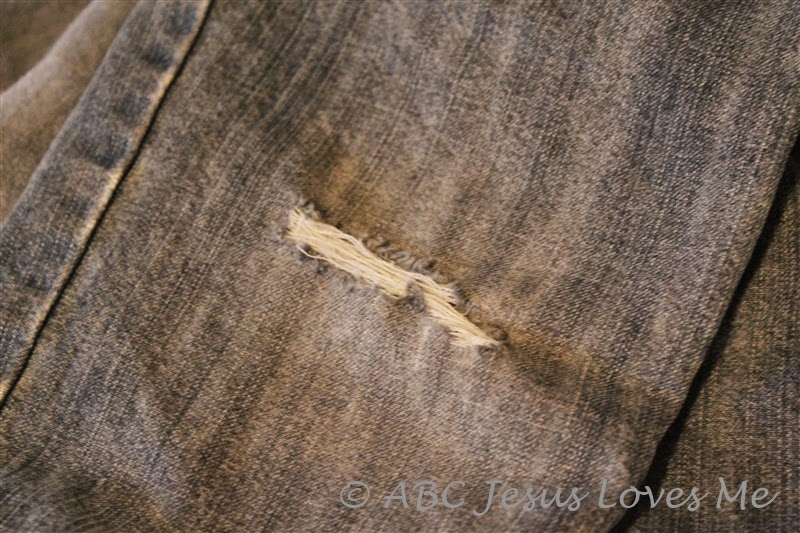
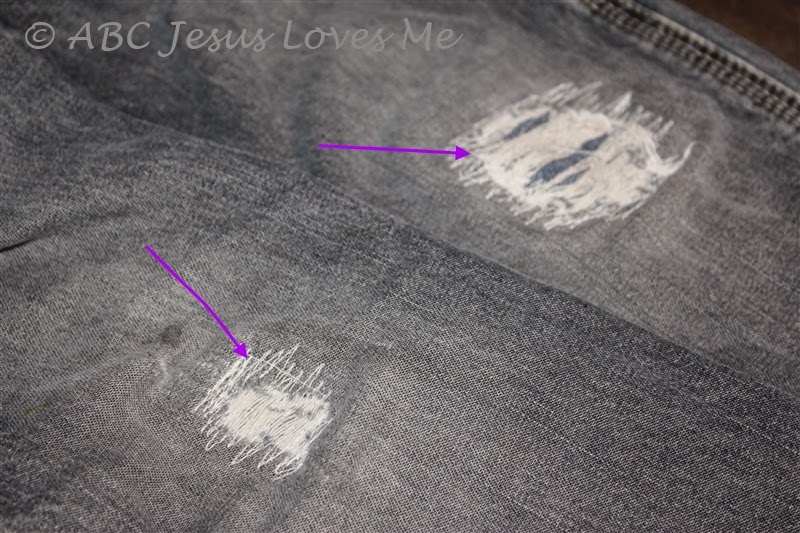
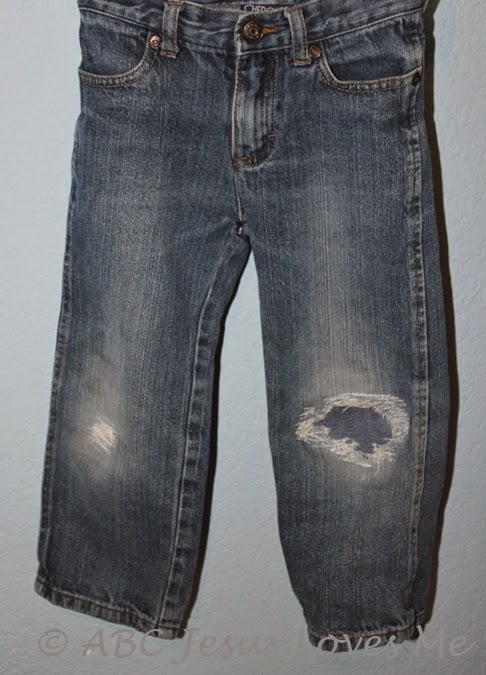
1. Grab a pair of holely jeans as pictured above. Turn the jeans inside out.
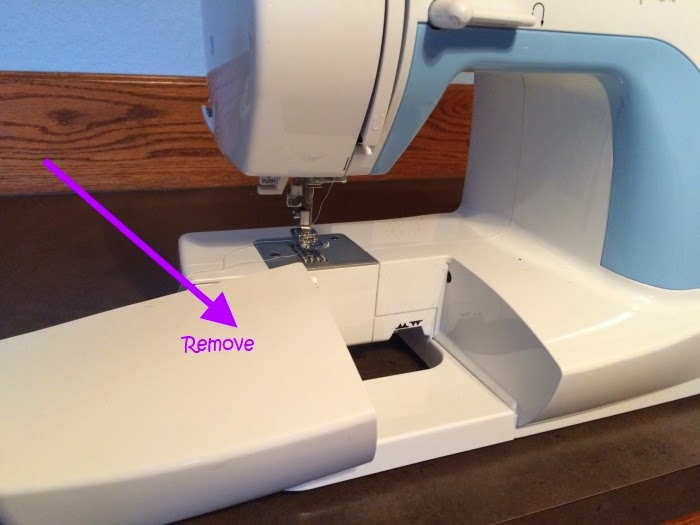
2. Thread your sewing machine with white thread. (You can use any color though.) Also, remove the thickest base of your machine so that you can place the jeans around the narrow base. The smaller the size of jeans, the more important a small base is.
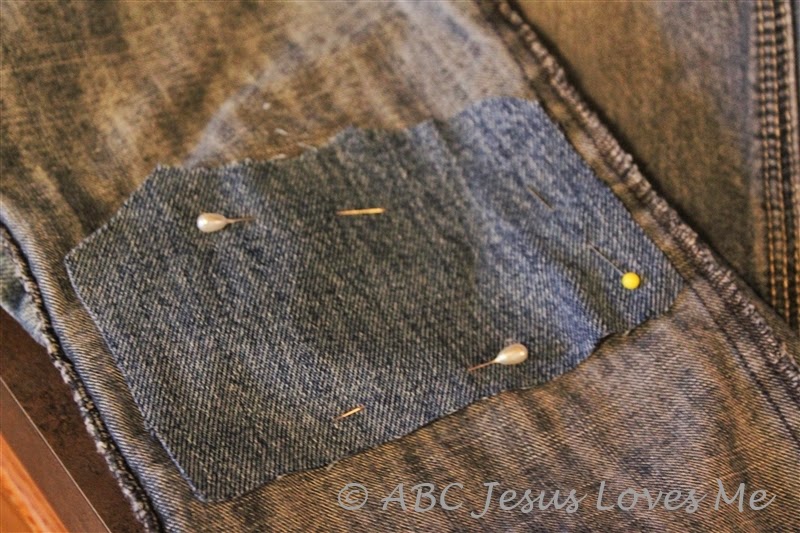
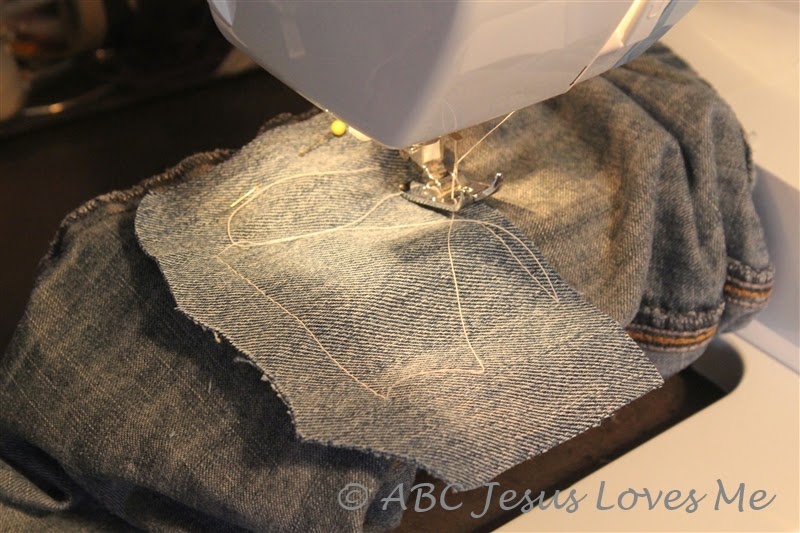
3. Sacrifice an old pair of jeans for scraps. Obviously the closer in color the scrap jean is to the holely jeans, the less the scrap will show. Cut a scrap piece a little larger than the hole. Since the denim material is typically lighter on one side than the other, decide which side of the denim you want to show through. Pin that side down.
Depending on your sewing experience, you may want to hold the scrap material and pin on the top as pictured above. This saves the step of turning the jeans but leaves more room for error. Whatever works best for you!
4. Slide the jeans onto the base of the machine. Sew two parallel lines using wide stitches along the sides of the scrap. These lines will be removed. This step is important to hold the scrap in place for the next step. Remove the pins.
5. Turn the jeans right side out. Sew around and over the hole in the jeans with short simple forward and backward motions. I found that sewing from left and right is much easier. Start on the left side of the hole and work around in a clockwise motion with close stitches. When you get to the bottom side of the hole, pick up your needle and move to the bottom left to finish in a left to right pattern. The image above shows the progression. Managing everything is a little tricky and takes a little getting used to. But once you learn to control the material, machine, and backward switch on your machine, you will be a pro! Don’t worry about mistakes.
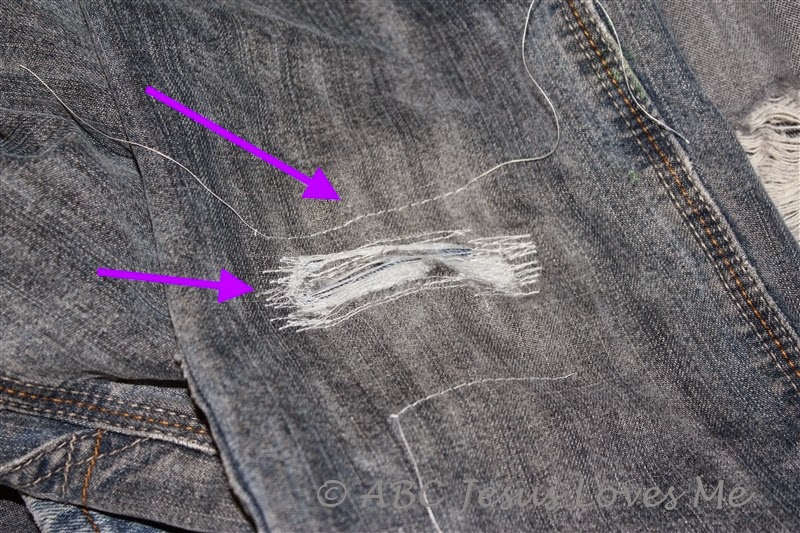
6. In the above pictures you can see the parallel lines and/or stray side lines. (Purple arrows) No problem! This is simple to clean up.
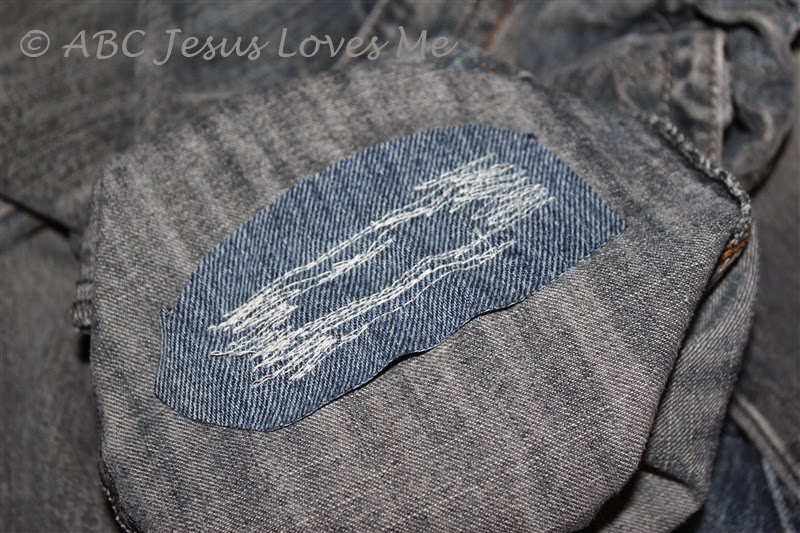
Grab your handy-dandy seam ripper and pull the temporary parallel lines and stray stitches. Because you sew backward and forward so much, you don’t have to worry about the seams coming out. See the difference in the image above? It looks a lot cleaner now!
7. Turn the jeans inside-out again. Cut the excess scrap material, leaving a slight edge.
And that’s it! Here are a few jeans that I fixed to give you some examples.
 |
The bigger the hole, the more the scrap material shows. I try to catch the holes when they first start but obviously one got away!
So, what do you think? I’d love to hear your thoughts!
Also, be sure to pin this idea to keep for future needs.
This post contains affiliate links.





Great Post! I have never had the confidence to tackle patching jeans (my mom didn't sew and I never learned in school). I've learned a few things from blogs and watching a friend, but this looks pretty doable even for my beginner skills! I've enjoyed your "homey kick"! Thanks!!
Glad that you enjoyed it!
Okay, so I decided to try this on a couple pair of boys jeans. I struggled with my not-so-great sewing skills, and was about to just give up and toss them into the rag pile. I mentioned this to my mother-in-law and she taught me a little trick…IF YOU ARE WORKING WITH A SMALL PAIR OF JEANS, YOU WILL WANT TO DO THIS!! You can remove the INSIDE seam of the pair of jeans very quickly with a seam ripper. (It is important to do the inside seam, as there is no decorative stitching) Just rip/pull enough threads to get your fingers in, and then give a BIG pull or two. (It seems a little scary to rip the jeans open, and sounds awful, but trust me it is SO much easier!) Pull until you have lots of space to do your patch. When you are finished patching, just run a straight stitch back over the original inside seam (I back stitch on both ends to give a little extra hold) and then zig-zag over the outer surged stitching and you are done!
I even started doing this with my husbands jeans, because it ended up being faster to rip the seam, sew the patch, and replace the torn seams than try to fight getting my sewing machine to fit in like I wanted!
Thought others might find this useful!
What a great idea! It is a little hard to do this with toddler sized jeans. Thanks so much for sharing!!
I must have wrote in a hurry…it should say OUTSIDE seam! (Or whichever side doesn't have any decorative stitching!) Maybe you can just fix that for me in my above post ?
Inside, outside, upside, downside. 🙂 We know what you mean. Thanks for sharing and I look forward to trying it myself.