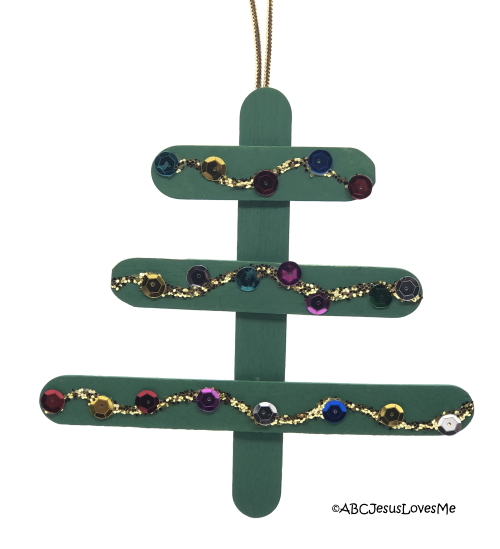
Every year that passes, my love grows for the handmade items that my children made during their preschool and early-elementary years. Whether it was a fabric handprint ornament, Handprint and Footprint Calendar, or fingerprint lights, I can see in my mind their little pudgy fingers diligently working to get the crafts just the way that they desired them to be.
The ABCJesusLovesMe website contains a collection of simple Christmas crafts, but today I want to highlight and provide additional directions and images for the craft-stick Christmas tree. A simple ornament that can be made by children of all ages, either one-on-one or in a group.
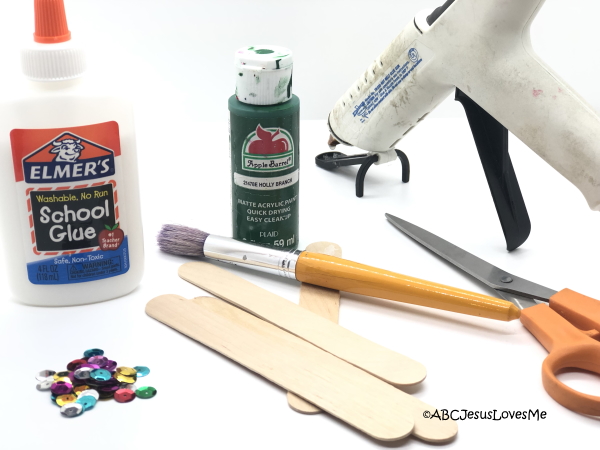
Craft Stick Christmas Tree Supplies
Some linked items are affiliate links. This means that I receive an itty-bitty commission if you choose to purchase through these links. See my favorite products here.
- 4-5 Craft Sticks – regular or jumbo sizes (Can also use various sized cardstock)
- Scissors
- Paint (I suggest washable paint for little ones.)
- Paint Brush
- Glue (Hot Glue)
- Craft Decorations (sequins, pompoms, buttons, glitter, stickers, etc)
- String or ribbon for hanging
- Sandpaper (optional)
- Paper or tablecloth to cover the workspace (optional)
- Extra craft sticks for drying
Craft Stick Christmas Tree Directions
Prepare: For protection, line your workspace with newspaper, paper, or a craft tablecloth.
1. Each tree will consist of a “trunk” and 3 or 4 “branches,” all made from various lengths of craft sticks. The trunk stick will remain the full length. Then use craft scissors to cut 3-4 craft sticks to the size needed to form a triangular, Christmas-tree shape. To estimate the correct size, I lay the 3 or 4 sticks on the “trunk” craft stick and eyeball the correct length. Cut the edges at an angle, straight, or curved. While it doesn’t need to be perfect, remember that you can always cut more, but you can’t add back! You may use sandpaper to round the edges. Kids really like using sandpaper.
Don’t have craft sticks? Use cardstock to form the trunk and branches. If wanting to use as an ornament, keep the cardstock pieces small or the tree will significantly curve while hanging.
2. Glue the shortened craft sticks (branches) on the full-sized, trunk stick. I find it best to use a hot glue gun, but white glue works as well if you allow time to completely dry before painting. Caution: Hot glue guns get dangerously hot.
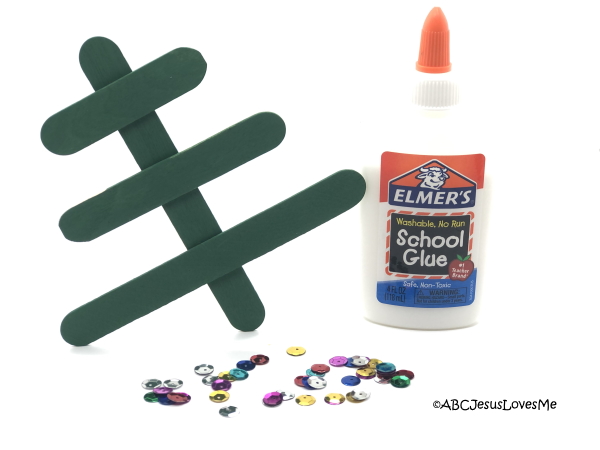
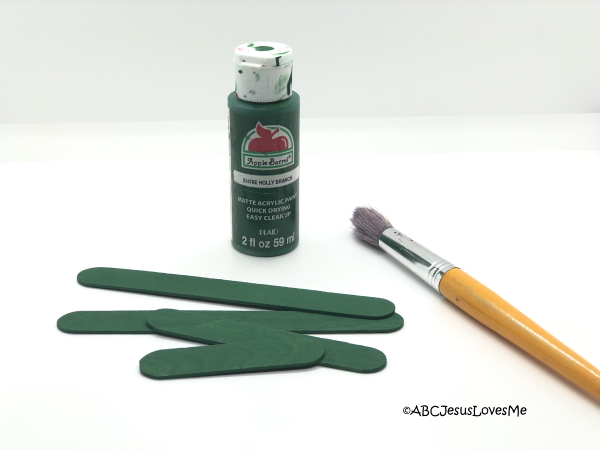
3. When cool or dry, paint the tree-forming sticks. You may choose to paint one side, let dry, and then paint the second side. So that the tree doesn’t stick to the paper or workspace, set the wet tree on extra craft sticks.

4. Once dry, decorate the tree with sequins, pompoms, buttons, glitter, stickers, or other craft supplies. Glue a piece of string or ribbon on the back of the ornament to hang.

Craft Learning Opportunities
~ Give further meaning to this craft by reading The Tale of Three Trees. For late preschool and elementary-aged children, this story follows the journey of three trees while they discover the significance of Christ’s life and sacrifice on the cross.
~ Because it can be a challenge to keep the “cousins” busy at Christmas gatherings, this is a perfect activity for such times. Host a contest and allow the oldest member of the family to vote for a winner!
~ To pull academic learning, discuss colors, sort the tree “branches,” and discuss length.
~ Add a little science by discussing what craft sticks are created from!
So much learning potential! Pick up the supplies. Grab your favorite kids. And make memories that will last many years.
And just in time for Christmas… the January – December 2022 Be Intentional Planners are now available to order. You will love the beautiful covers, updated layout, and weekly verses.
