When my kids were young, I tried multiple chore charts and posters, but nothing seemed to stick. I found that my kids (especially those with ) needed something more hands-on—something visible, movable, and easy to carry from room to room to help focus and remind them of their daily responsibilities and routines.
Just in time for summer, I want to share how I created an easy Visual Chore Schedule. It worked well for years and grew with each child.
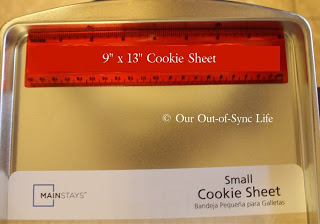
1) Create the base
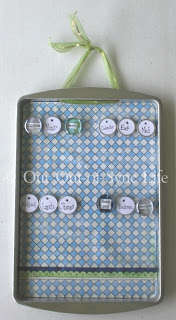
Start with one 9×13 inch cookie sheet per person in the family. Dollar stores or Walmart usually have inexpensive options. Also check 2nd-hand stores.
Tip: A thrift store is often a good place to find used cookie sheets.
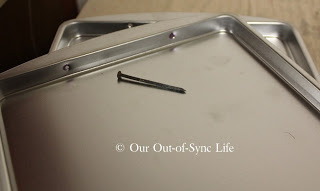
2) Hang the board
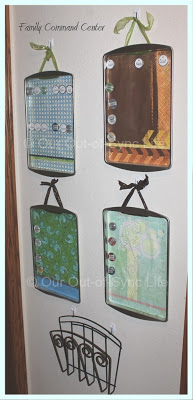
Poke two holes in the top lip of the cookie sheet, about 2 1/2 inches from each side. Use a nail and hammer. Thread ribbon, twine, or string through the holes for hanging.
Tip: Reinforce the holes with tape on the back if needed for extra durability.
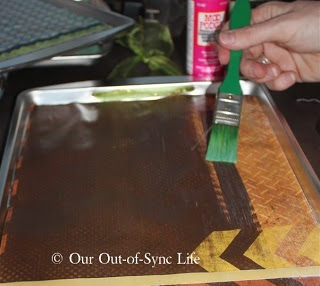
3) Personalize each board
Decorate the cookie sheet in a way that fits your home. One option is to glue scrapbook paper to the surface using rubber cement, then seal it with Mod Podge to protect it. The paper may bubble at first, but it smooths out as it dries. Add each child’s name near the bottom. I used letter stickers.
Tip: Keep designs simple so the magnets are easy to see.
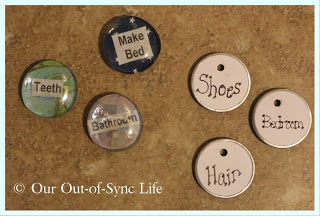
4) Make the magnets
Magnets represent the tasks or chores the child is to complete.
Starting out I used flat marbles with printed chore ideas glued on magnets. They looked nice, but they were not durable. When dropped, they broke or the magnets came loose. I ended up using metal rim key tags hot glued to magnetic buttons.
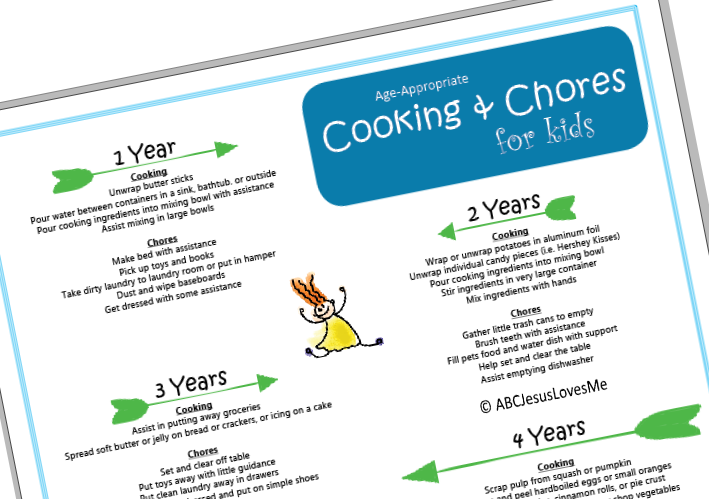
Before gluing, write tasks on the tags. For children who are not reading yet, use pictures, stickers, or simple drawings. Adjust the level of detail based on the child’s needs—some children need step-by-step directions, while older children can handle broader tasks. Here are a few examples:
- Brush Teeth
- Make Bed
- Put Away Clothes
- Read a Book
- Set the Table
If you are unsure what is appropriate, grab the free Age-Appropriate Chore Cart.
I also found it helpful to draw a vertical line down the board and label the left side “To Do” and the right side “Done.” The child moves each magnet from left to right after completing a task.
5) Hang the boards
Use Command Small Wire Hooks to hang each board on the wall.
Tip: Place the visual chore schedule in a central location where the child naturally passes through during the day, such as the kitchen or hallway.
6) Put it into practice
Start with a family meeting. Explain how the system works and why you are using it. Make sure all adults are on the same page.
Then walk through it together step-by-step. Begin with only a few magnets so it does not feel overwhelming. As the child grows in responsibility, add more tasks and gradually reduce adult help.
Visual Chore Schedules in Daily Life
Each morning, my kiddos took their board, carrying them about as they finished their day’s routine. When a task was completed, the magnet moved to the “Done” side. This gave the child a clear visual of progress and what still needed attention. When the current tasks were finished, the board returned to the wall.
Because I placed all boards in one central place, it was easy for me to glance and see what still needed to be done.
This Visual Chore Schedule is a simple, low-cost, and very hands-on way to support responsibility and routine. It grows with the child and can be adapted for many years of use. I highly suggest!
More Ideas for Chores and Responsibilities
- Spin a Chore
- How Chores can Help Reduce Anxiety in Children
- Teaching Kids Responsibility Through Chores
- Should Children Have Chores?
- Visual Schedules in a Classroom