The closer to summer one gets, the more often small talk centers around vacation plans.
Are you taking a vacation this summer? Where are you going?
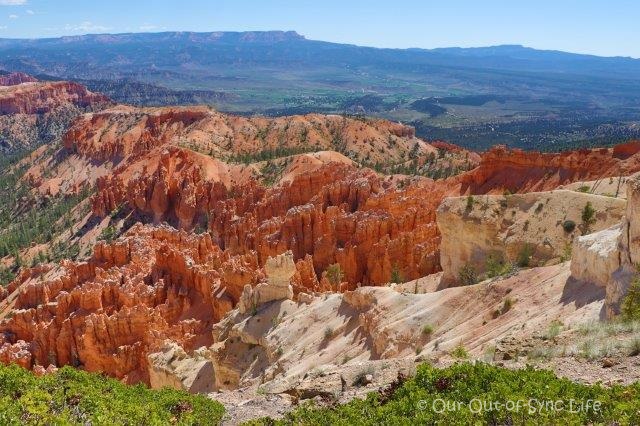
As I answered these questions from people I came in contact with, I found many responded with longing in their voice when they heard our plans. They shared that visiting Zion, Bryce (pictured above), and the Grand Canyon Nation Parks were on their bucket lists too. Those who weren’t familiar with the parks quickly became interested when I showed them pictures of each.
After spending several days in the beauty of each National Park I understand why the hype is so high. Absolutely amazing displays of God’s handiwork.
But planning for a trip like this doesn’t come easily. I spent hours choosing the proper clothing, appropriate hikes, and best places to stay. I was surprised to find that while there is a lot of info available, very little is geared toward families.
So, today begins a mulit-day series filled with tips and suggestions to help you plan and enjoy a vacation to these amazing places.
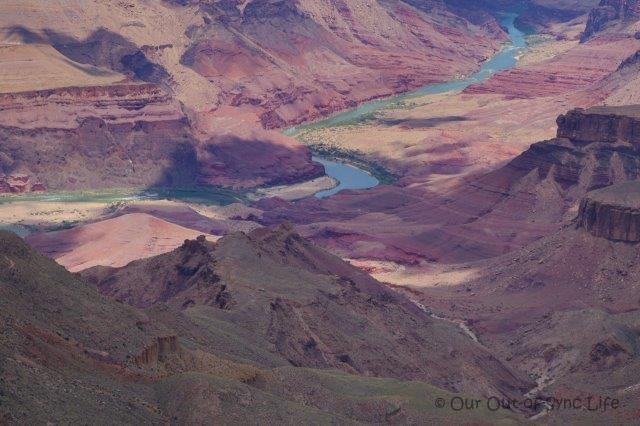 Navajo Point Lookout – Grand Canyon (Arizona)
Places Visited
We visited the following places. I will go into specific detail for each place in future posts in this series.
- Zion National Park (Utah)
- Bryce National Park (Utah)
- Horseshoe Bend (Page, Arizona)
- Grand Canyon Nation Park – North and South Rims (Arizona)
Family Make-up
If you are new to this blog, let me take a moment to introduce you to our family. We have four kiddos ranging in ages 6 ½ to almost 13. Our oldest (Bubs, almost 13) and 3rd child (Little Man, 9) have ADHD. Little Man struggles greatly with self-control and impulse. His level of control can make or break a situation for the whole family. We enjoy hikes and so our children are used to walking up to 8-9 miles a day to overlooks, waterfalls, or other points of interest.
This is our third family trip (Beach 2015, Rocky Mountains 2016). We waited to begin family vacations until the kids were older, no longer needing naps, and were more self-sufficient. I am very thankful that we didn’t attempt this specific trip earlier. We saw very few young families and I understand why. In my opinions, these three park are not child-friendly.
Let me explain why. Even the easiest of hikes at all three parks have extreme dropoffs and sometimes on both sides of the trail. The majority have no railings, and even when railings are present, huge gaps are created in the railing to least inhibit the view. My husband and I held Little Man’s and Peanut’s (age 6 ½) hands on each hike for safety reasons. Very few hikes are conducive to strollers.
Honestly…if I had to do it over again, we would have waited a couple of years for this trip so that we could enjoy more of the hikes without fear of someone falling.
Am I saying you can’t go with young children? No. I’m simply suggesting that you wait if your children are very young. You will get more out of your money, enjoy the parks more, and everyone will be happier. Just pin this post and start saving money for when the time is right!
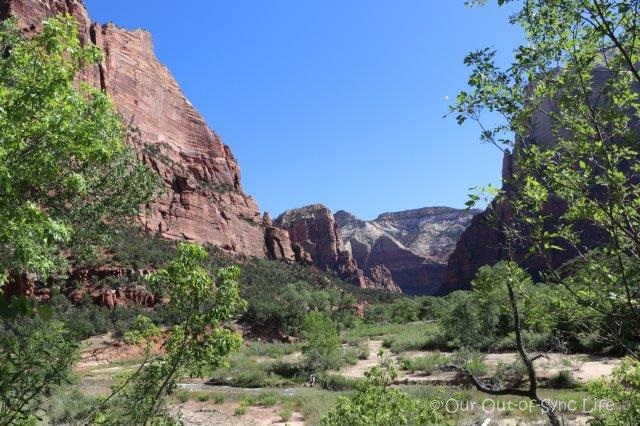 Emeralds Pool Trail – Zion Nation Park (Utah)
Let’s Talk Money
If you haven’t heard, 4th Graders and their families get into National Parks for free. We printed a form online and took it to the check-in station. This saved $30 per National Park. Sweet Pea had to be present to use the card and the rangers specially talked to her.
But even with these savings, this was not a cheap vacation. Actually it was substantially higher than any other vacation that we have taken. Because each National Park is tourism-driven, hotels, food, and gas expenses are significantly higher in costs. We saved money by cooking our own meals (when possible) and making peanut butter and jelly sandwiches to eat on hikes in the parks. When we ate at restaurants we always ordered waters and shared meals.
We were able to get good airfare prices to Las Vegas on Allegiant Air but don’t wait to book because I was told the prices increase as more seats are sold. If you haven’t flown Allegiant know that everything costs extra – carry-on bags, food, blanket – and there are no TV shows during the flight. I learned after-the-fact that there are three tiers in paying for luggage – at booking, pre-departure, and then at the airport. Each person can carry on one backpack. This helped dramatically in the costs as I only purchased two carry-on bags. I was concerned that our backpacks were 2″ too tall but this wasn’t an issue at all.
Another way we saved money was to only bring four sets of clothing per person and to wash every few days at a hotel. Before leaving I purchased individual containers of laundry detergent and added them to our 3-1-1 bags. It took very little time to wash a load and was much easier than keeping up with multiple sets of clothing. See how I pack each person’s clothes in a bag here.
Because there are 6 of us, most hotels only allow 4 people per room. Having to pay for more than one hotel room drastically increased our cost. Thankfully a few hotels offered family suites with 3 queens or 2 queens and a sofa bed for a similar cost to a room with 2 queens. Be sure to ask about this option if you have a large family.
I don’t say all of this to discourage you, but simply as a heads up. Not that it would have changed our plans, but we didn’t realize the trip was going to cut into our budget as significantly as it did.
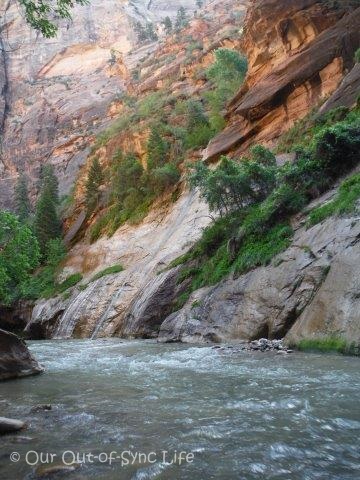 The Narrows – Zion National Park (Utah)
Making Plans
To say these National Parks are popular would be an understatement. What surprised us was the vast amount of tourist from other countries. We loved listening to all of the languages spoken. But because the areas attempt to support millions of people a year, don’t wait to book hotels. We booked six months in advance and were fine. I would suggest booking campgrounds even earlier.
A Typical Day
While the shuttles will drive you to the lookout points, it is in hiking the trails that you truly see the beauty that each park holds.
Because the temperatures in the desert are so high, we started our days early. It helped us avoid long lines and the wildlife is more active in the mornings. We carried with us PBJ sandwiches, chips, and a supply of Peanut Butter crackers and granola bars for snacks and lunch. By 2:00, we were spent and headed back to our hotel to get cleaned up and eat an early supper. The kids enjoyed a swim and we relaxed in our hotel room.
You will see signs everywhere telling you to drink lots of water. There is a reason for these signs. The heat will zap you quickly. We carried 6 water bottles and then used the free water fill-up stations that are available in each park to replenish them. The signs also suggest salty snacks. We stopped frequently for water and made the children eat a couple of bites even if they weren’t hungry to keep everyone safe.
The shuttle system will become your friend, but you have to figure out how to conquer it. I will share tips for each park as one strategy doesn’t apply to all (we learned this the hard way).
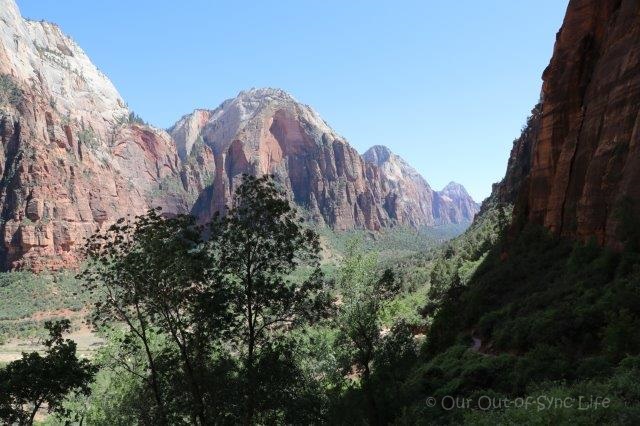
Angel’s Landing Trail – Zion (Utah)
Well that is the foundation of our trip. In the next blog post I will dive deep into Zion National Park sharing what to visit, tips to avoid long lines, and how to make the most out of your trip. If you have tips to share or questions, be sure to comment below (on the blog) or reply to this post (in an email) and I will be sure to add/answer them in future posts in this series.
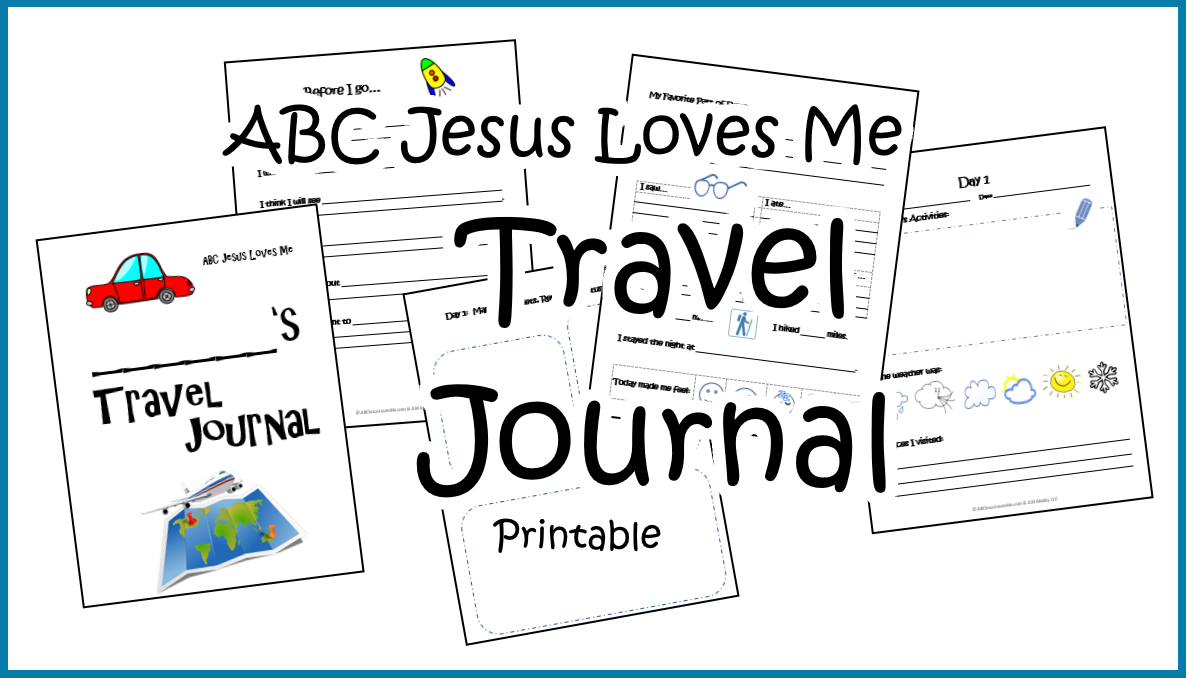
The ABC Jesus Loves Me Travel Journal is a free printable for all subscribers to this blog!
Find the link at the bottom of your blog email or RSS feed or you can order it here for $5.
Subscribe here – http://forms.feedblitz.com/5p2